It’s that exciting time of year again – Back-to-School season for Fall 2023! OASIS is here to help give the school year a refreshing start with recommended instructions for bringing a cooler back into service after being shut down.
Supplies Required for the OASIS PG8AC unit
- Disinfectant wipes or food grade disinfectant
- Latex or nitrile gloves
- T 15 Torx Screwdriver
- Bucket
- ¼” Union part #028605-101
Step 1 – Unplug Unit
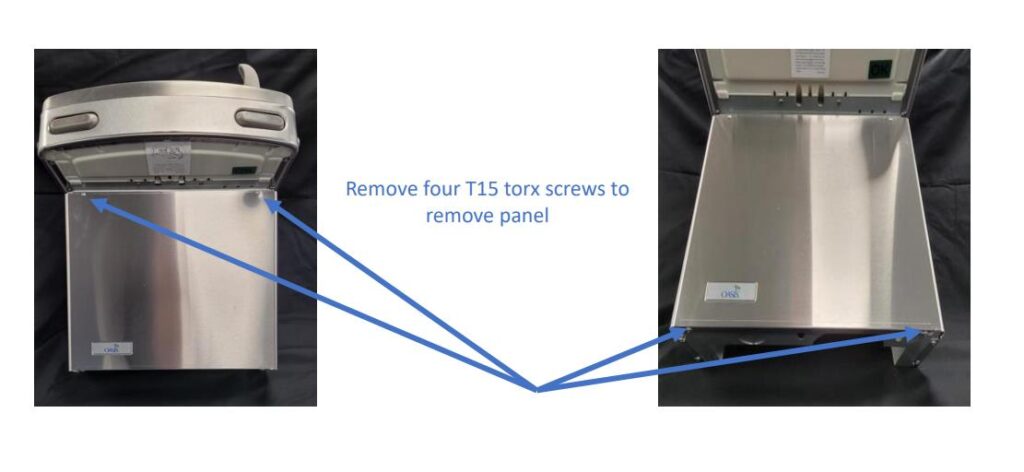
- Remove front cover (if necessary) to access electric plug
- Unplug from outlet
Step 2 – Prep the Cooler
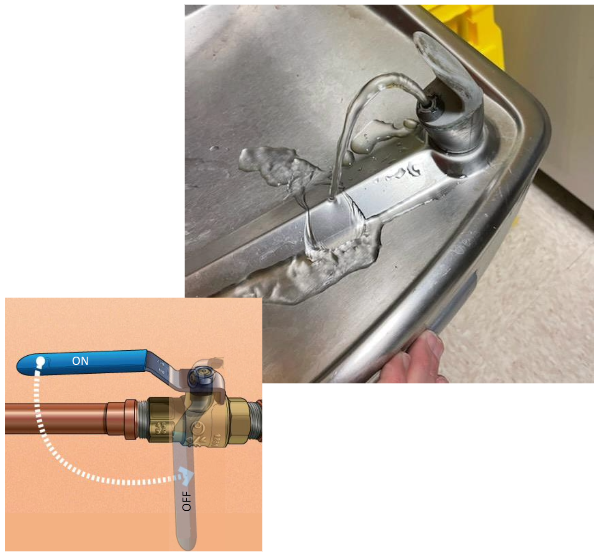
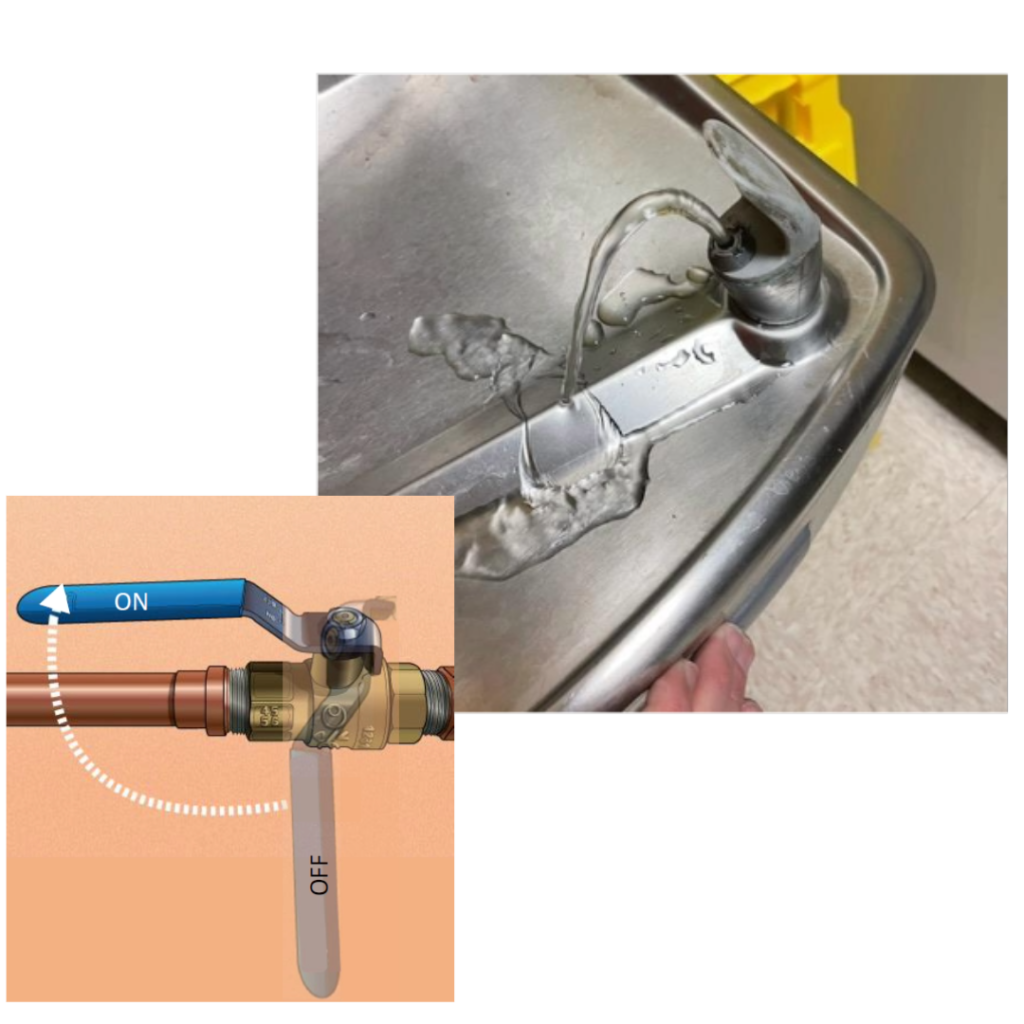
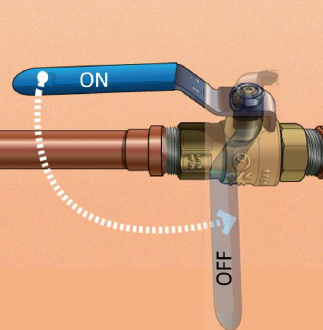
- Shut off water valve – note this is for example only, actual valves can differ
- Press dispense pad until water stops to depressurize
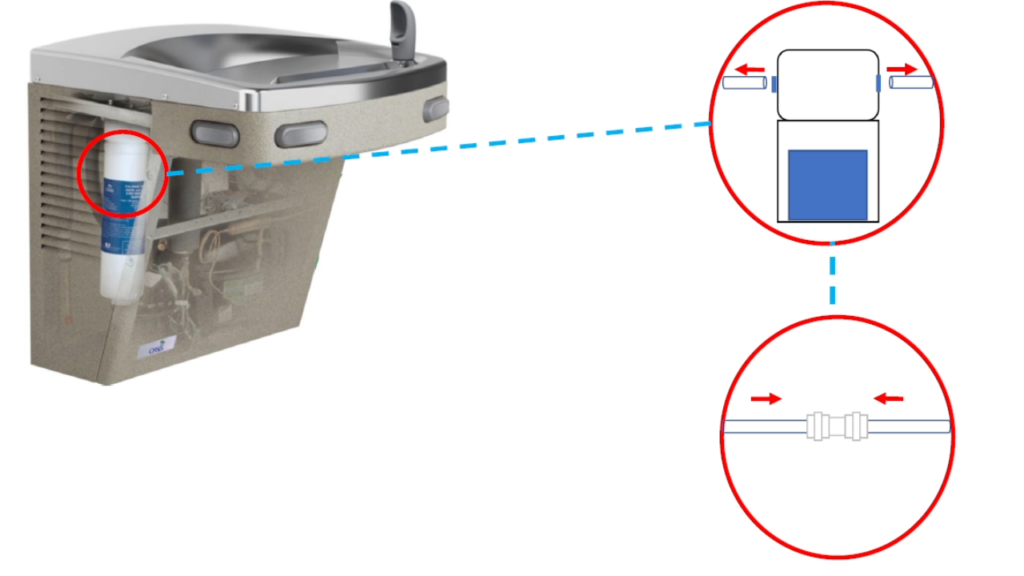
Step 3 – Bypass the Filter (if applicable)
- This is a great time to change the filter cartridge
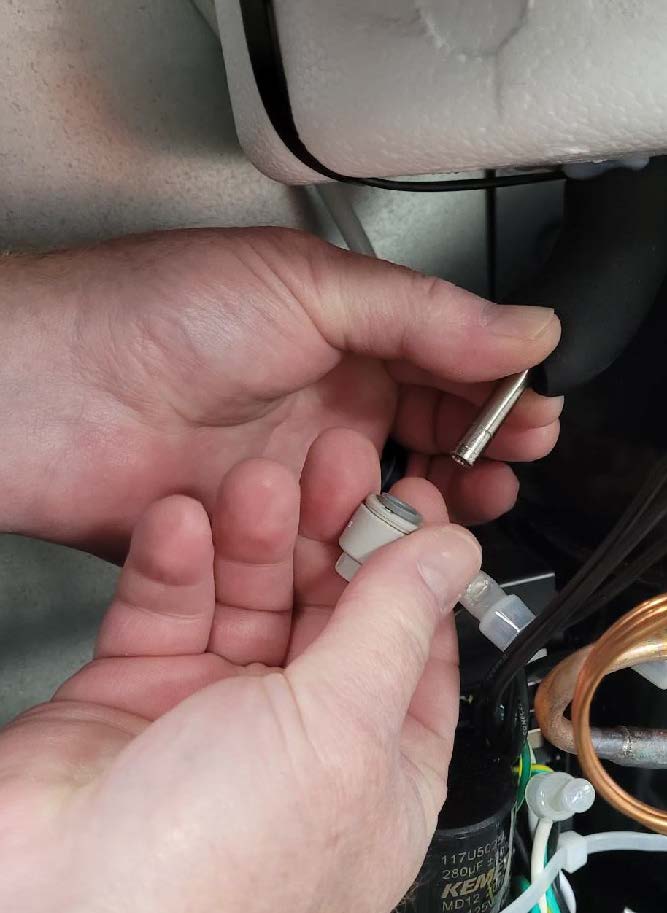
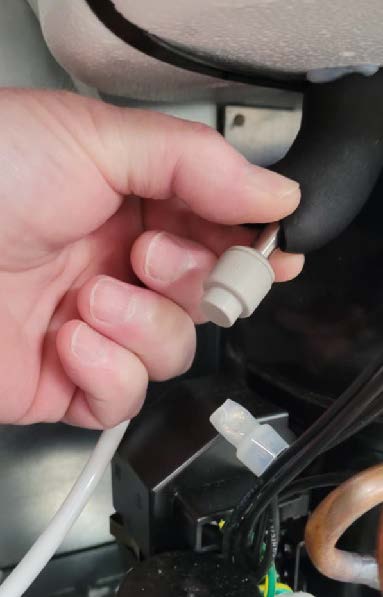
- Remove the tubing from the filter head
Step 4 – Draining the Cold Tank
Step 5 – Closing the Tank Drain
- Insert the plug into the union fitting to close the tank drain
- Insert the cap onto the drain line to close the tank drain
Step 6 – 1st Flush Cycle
- Turn ON water supply
- Depress pad until water fills the cold tank and runs consistently, allow approximately 2 gallons
Step 7 – Repeat Draining the Cold Tank
Step 8 – 2nd Flush Cycle
- Turn ON water supply
- Run 2 more gallons through the unit
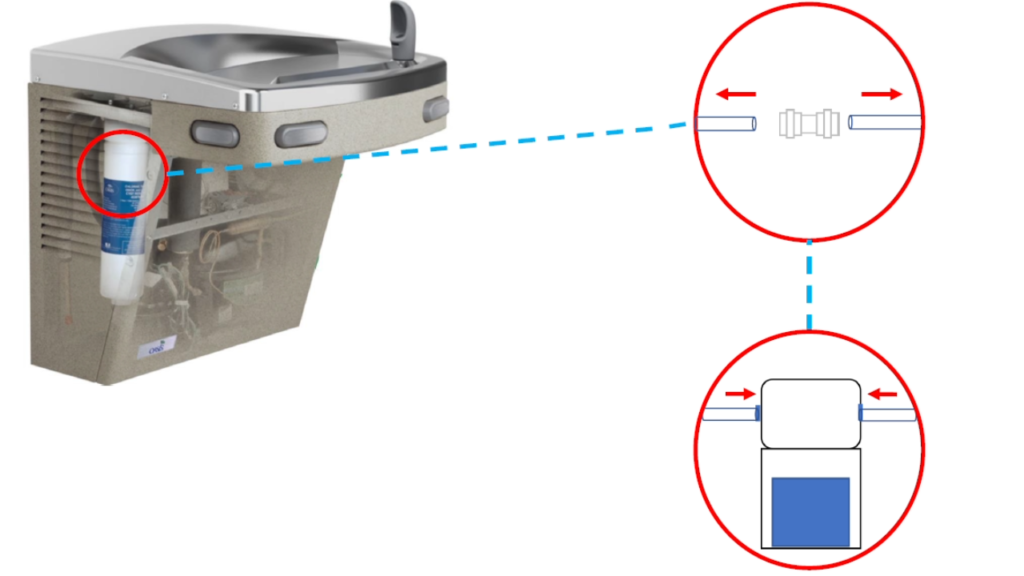
Step 9 – Reconnect the Filter (if applicable)
- Shut off water and depressurize the unit once more
- Note – It is recommended to properly flush the replacement filter cartridge before connecting to the cooler
- Remove lines from union
- Reinsert the tubing into the filter head
Step 10 – Flushing Complete
- Turn ON water supply
- Run water by depressing the dispense pad
- Plug unit back into outlet
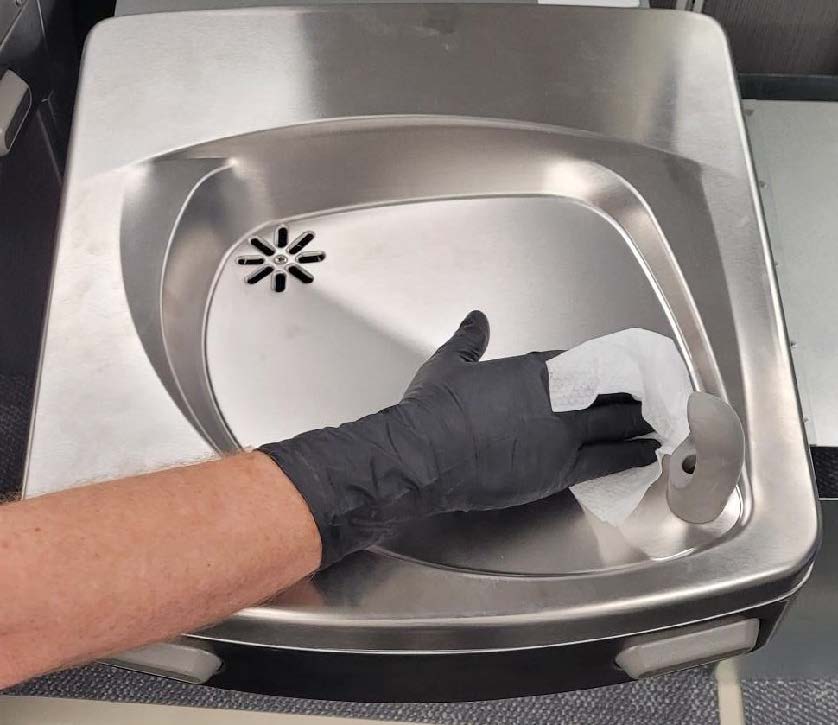
Step 11 – Sanitizing the Exterior
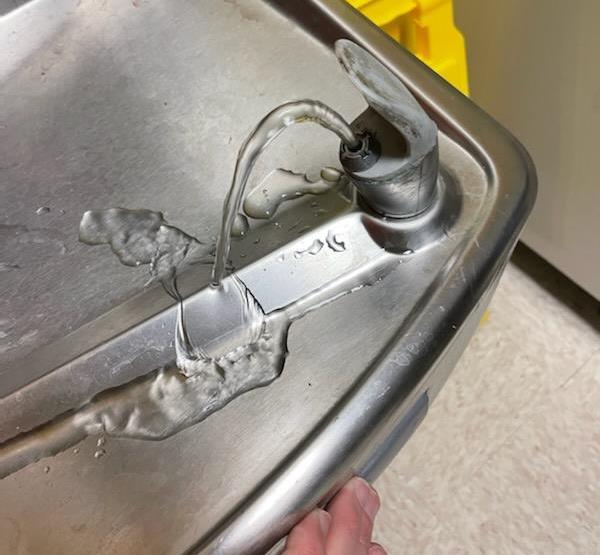
- Clean the top of the unit, push pads and bubbler with disinfectant wipes