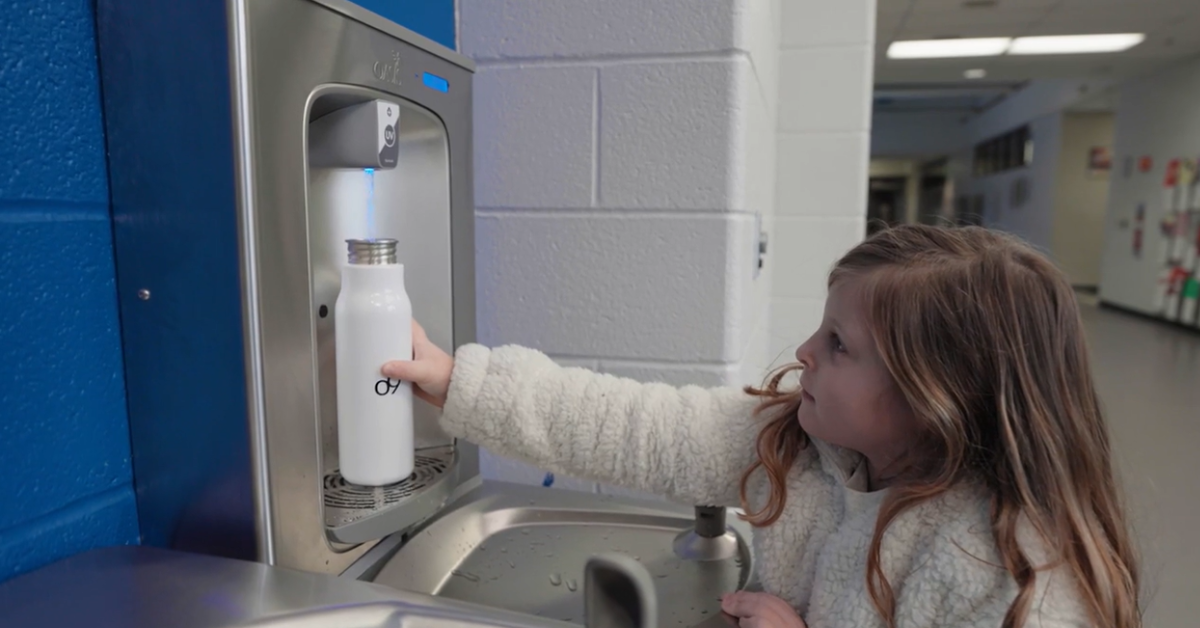



ADA Water Fountain Clearance: How To Stay Compliant
 Hydration Insights from the OASIS Team
August 28, 2026
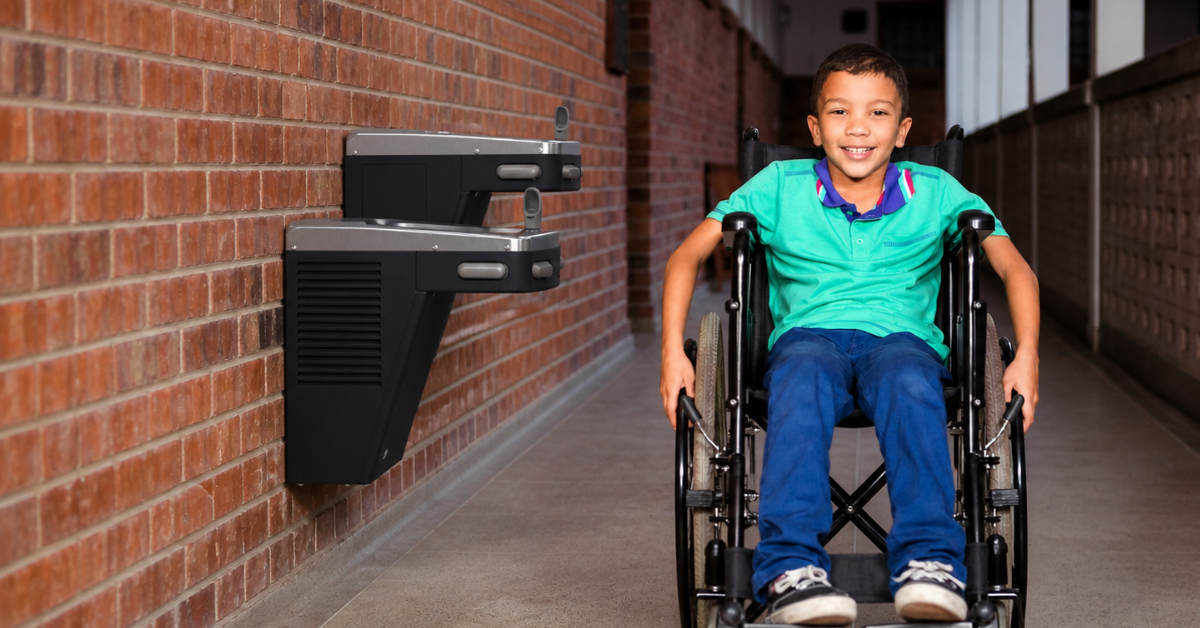
ADA Water Fountain Clearance: How To Stay Compliant
The Americans with Disabilities Act (ADA) has shaped the way every facility manager approaches accessible design since it became law in 1990. Its standards protect the rights of people with disabilities to move freely through public and commercial spaces and to enjoy the same basic amenities — like a cool refreshing drink of water — as anyone else. That mission starts with getting ADA water fountain clearance right.
Properly installed drinking fountains and bottle filling stations do more than tick a compliance box. They keep people safe, reinforce your organization’s commitment to inclusion and help you avoid costly retrofits or legal exposure. From the height of an ADA drinking fountain’s spout to the clear floor space a wheelchair user needs to roll up and sip comfortably, each measurement matters. This blog will show you how to ensure ADA water fountain clearance for compliant, accessible drinking water.
ADA Regulations for Drinking Fountains: Establishing Equal Access
Signed into law in 1990, the ADA set a nationwide mandate: every individual must have an equal opportunity to access public facilities, including something as fundamental as a drinking fountain. Over the years, the ADA Accessibility Guidelines (ADAAG) have evolved, most notably with major updates in 2004 and 2010, to clarify what “equal access” means in real-world settings. For facility managers, keeping pace with these refinements is essential because the Department of Justice enforces ADA requirements while the U.S. Access Board develops and maintains the technical standards that spell out exactly how to comply.
Chapter 6 of ADAAG focuses on plumbing elements such as drinking fountains, water coolers and bottle filling stations. It lays out precise measurements for spout height, clear floor space, knee and toe clearance, reach ranges and protrusion limits. Together, these details ensure that both wheelchair users and standing patrons can approach, reach and operate an ADA water fountain safely and independently.
Whenever you retrofit or add a new fountain, review the current ADA drinking fountain guidelines side by side with your local building codes. Then translate the legal language into an actionable installation plan. Plus, our how-to article on installing a drinking fountain walks you through each step from selecting an ADA-compliant drinking fountain to positioning it at the correct elevation.
Defining Proper Accessible Design
Before you can measure or mount a drinking fountain, it helps to understand what the ADA really means by “clearance.” In simple terms, clearance is the unobstructed envelope of space a person needs to roll up, stand comfortably and operate the unit without strain. When that space is compromised — by a trash can, a decorative planter or even the fountain’s own housing — wheelchair access disappears and liability risks appear.
Clearance is more than a single dimension. It’s a collection of precisely defined zones that work together to guarantee safe hydration for every user, regardless of height, mobility device or level of strength. For facility managers, knowing how these zones overlap is the key to smart planning.
To streamline your next project, keep these five measurement categories top of mind:
-
Height: The vertical distance from the finished floor to the spout or bottle filler outlet must meet specified ADA limits to ensure accessible use for both wheelchair and standing users.
-
Knee and toe clearance: Adequate open space beneath the bowl lets wheelchair users move in close enough for a forward approach.
-
Clear floor space: A defined 30" × 48" clear area in front of the unit enables proper positioning and maneuverability.
-
Reach range: Controls and operable parts, such as the push bars, sensor plates or bottle filler activators, must fall within specific upper and lower limits so all users can activate the water stream.
-
Protrusion limits: Wall-mounted fixtures must not extend excessively into circulation paths to prevent hazards for individuals with visual impairments.
Here at OASIS, we design water fountains with these five categories in mind, making it easier for you to hit the mark on day one and maintain compliance for years to come.
ADA Height Requirements
Getting the spout height right is the foundation of ADA water fountain clearance. ADAAG caps the spout on a wheelchair-accessible unit at 36 inches (915 mm) above the finished floor. For children’s facilities, many building inspectors expect a lower target around 30 inches to accommodate shorter reach ranges, so verify local amendments before you order equipment.
Height requirements don’t stop at the spout. ADAAG also specifies that the stream of water must project at least 4 inches in front of the unit’s leading edge and rise between 4 and 5 inches high, creating an easy arc to sip from without awkward neck bending. To meet those criteria consistently, the orifice should sit no more than 5 inches from the front lip of the bowl and angle the water jet at roughly 30 degrees.
Because standing patrons need a higher bowl to avoid stooping, a compliant layout often pairs the 36-inch wheelchair accessible fountain with a second, higher fountain set between 35 and 43 inches. This hi-lo approach serves both user groups while satisfying the dual drinking fountain rule covered later in this guide.
Before drilling a single anchor, double-check these key numbers:
-
Wheelchair-accessible spout height: ≤ 36 inches
-
Children’s installation (where applicable): ≤ 30" AFF
-
Standing-height spout: 38-43 inches
-
Stream angle: max 30° (<3" setback) or 15° (3"–5" setback)
-
Spout set back: ≤ 5 inches from front rim
Knee and Toe Clearance Requirements
Even a perfectly placed spout becomes useless if a wheelchair user can’t roll up close enough to drink. That’s why ADA water fountain clearance puts so much emphasis on the open area beneath the bowl.
Knee clearance comes first. ADAAG calls for at least 27 inches (685 mm) of vertical space from the finished floor to the underside of the fountain for a depth of 8 inches. From 8 to 11 inches deep, that vertical clearance can taper down to 25 inches to follow the natural bend of a seated user’s legs. This contour lets the chair’s footrests slide under the unit, positioning the user’s torso directly over the bowl without twisting.
Below the knees, toe clearance bridges the gap between the floor and the chair’s front casters. You need a minimum of 9 inches (230 mm) of height, extending 17 to 25 inches beneath the fountain. This open zone eliminates stub-out obstacles and makes a true forward approach possible - a critical distinction since side approaches often violate reach range rules or leave users reaching awkwardly around sharp corners.
To confirm your design meets both thresholds, place a cardboard template on the wall before installation and trace the required void. If any brackets, traps or shut-off valves intrude, move them or recess them into the wall to restore full wheelchair access.
Key dimensions to remember:
-
Knee clearance: ≥ 27 inches high for first 8 inches of depth; may reduce to 25 inches up to 11 inches deep
-
Toe clearance: ≥ 9" high, extending ≥ 17" under the unit.
-
Combined depth: At least 17 inches of clear floor space under the fountain
Our OASIS wall-mounted stainless steel units feature concealed plumbing and slim support arms to maximize knee and toe clearance straight out of the box, saving you from costly on-site modifications.
Clear Floor Space and Reach Requirements
Once the knee and toe zones are set, turn your attention to the ground in front of the fountain. ADAAG mandates a minimum clear floor space measuring 30 inches by 48 inches (760 mm by 1220 mm). This rectangle must be level, free of rugs or obstructions and positioned for either a forward or parallel approach.
The forward approach is the preferred option because it aligns directly with knee and toe clearance. In this layout, the 48-inch dimension runs perpendicular to the wall, letting a wheelchair roll straight in until the footrests nest beneath the bowl. When site constraints demand a parallel approach, common in narrow corridors, the full 30-inch width still applies. However, you must also ensure an additional 9 inches of toe clearance under the unit’s far edge so users can pull alongside without tipping.
Reach range completes the puzzle. All operable parts — push buttons, sensor targets and bottle filler — activators must sit no higher than 48 inches above the floor when accessed from the front and no lower than 15 inches, preventing excessive bending. Keep in mind that bottle fillers mounted above a drinking fountain can inadvertently push activation sensors beyond that 48-inch ceiling, so verify specifications before ordering.
Practical placement tips:
-
Center the 30 x 48-inch clear floor space on the fountain’s spout to maximize usability.
-
Maintain a smooth circulation path that connects hallways or lobby areas to the drinking fountain without abrupt level changes.
-
If space is tight, consider an in-wall bottle filling station paired with a wheelchair accessible fountain below to preserve both reach and maneuvering clearance.
Protrusion Rules for Preventing Safety Hazards
The Americans with Disabilities Act (ADA) has shaped the way every facility manager approaches accessible design since it became law in 1990. Its standards protect the rights of people with disabilities to move freely through public and commercial spaces and to enjoy the same basic amenities — like a cool refreshing drink of water — as anyone else. That mission starts with getting ADA water fountain clearance right.
About the Author
Explore more articles
Understanding the Surge in Demand for High-Quality Water Solutions
VersaCooler II Drinking Fountains Features and Benefits

VersaFiller Bottle Filler Features and Benefits
Bottle Filling Stations – Trends and Demand