

How to Install a Drinking Fountain | Oasis Coolers
 Hydration Insights from the OASIS Team
January 30, 2026
Hydration Insights from the OASIS Team
January 30, 2026
Your Guide To Installing a Drinking Fountain
Whether you’re a first-time user staring at your new unit, a facility manager juggling multiple installation requirements or an experienced plumber looking for a quick reference, it’s helpful to know exactly how to install your drinking fountain to avoid irritation or complexities. If you’re gearing up to install new water dispensers in your area or simply need a bit of help, this guide was written with you in mind.
Let’s dive in and get your new fountain delivering fresh, great-tasting water to every bottle that comes its way.
Materials Checklist: What To Have in Your Tool Belt
Getting the job done right starts with gathering the right tools and materials before you even open the box. Double-check this list now so you’re not left scrambling mid-install.
Recommended tools:
-
Level
-
Power drill and bits for the chosen wall anchors.
-
T-15 Torx bit driver and slotted screwdriver.
-
Tape Measure
-
Tube cutter.
-
Safety glasses.
-
4x appropriate wall anchors.
-
1 ¼ P-Trap
Materials to have on site:
-
Your chosen OASIS drinking fountain model, such as the PG8AC, P8AM or another product that meets your facility’s requirements.
-
Water supply line long enough to reach the inlet without kinks in the pipe.
-
Drain fittings that match existing building plumbing and provide proper slope for continuous running water per the building/plumbing codes.
-
Electrical, if you’ve selected a refrigerated or sensor-activated unit that needs an electrical outlet.
-
The manufacturer installation manual for step-by-step reference.
-
All packaging components from our helpful One-Box packaging, which has all the materials on one box.
With these tools and materials staged, you’ll be ready to move from unboxing to wall mounting without delay, keeping your installation on schedule and avoiding issues down the line. It’s also vital that you follow all state and local plumbing codes during installation. Some states may require a licensed plumber to install coolers. Please review local plumbing codes before installing.
Preparing the Installation Site: What To Do Before Starting
Before you pick up a single tool, take a moment to confirm that your chosen location is truly installation-ready. A few minutes of planning now will spare you from time-consuming issues like an unreachable pipe or an out-of-level fountain bowl later on.
Start with the wall itself. Our fountains are heavy-duty commercial products, so make sure you have solid backing or wall studs that can bear the load. If the structure feels questionable, bring in an experienced plumber or your building’s maintenance team for reinforcement.
Next, verify that the space meets every code and comfort requirement your users expect:
-
ADA compliance: Measure mounting height and side-to-side clearance to ensure wheelchair accessibility.
-
Utility proximity: Double-check that the water supply, drain stub-out, and (if applicable) electrical outlet are all within reach of the unit’s tubing and power cord.
-
Line integrity: Flush the building water supply line before installation to clear out debris that could clog a faucet strainer or compromise water flow.
-
Environment: If the fountain will live outdoors or in an unconditioned area, review our winterizing guidelines before temperatures drop so you won’t face frozen pipes or costly service calls down the road.
Mounting Your Fountain and Connecting the Water Supply
With these site checks complete and the right tools already staged, you’re ready for the next step: putting the mounting bracket on the wall and welcoming a new source of fresh, running water to your facility.
Mounting
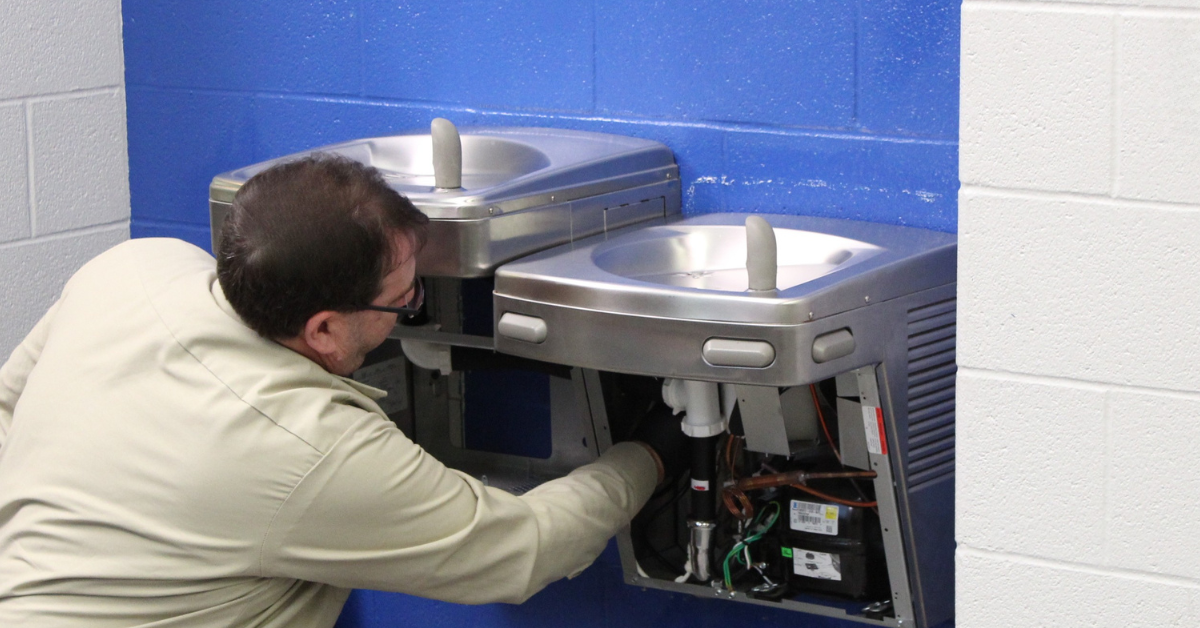
Start by marking the exact mounting height shown on your model’s specification sheet. Using a level now prevents a crooked fountain later and saves you from frustrating rework. Once the line is set, install the heavy-gauge steel bracket that ships in the OASIS One-Box, usually located on the back of the drinking fountain. Drive the screws into studs or solid blocking so the bracket can fully support the unit’s weight and any user impact.
With the bracket secure, lift the fountain straight up, align the rear hanger with the bracket, then lower it into place. A second set of hands or an experienced plumber makes this step both faster and safer. Finally, fasten the unit to the wall through the side mounting holes, confirming the fountain sits level and the drain outlet lines up with the building pipe.
Connecting the Water Supply
Install a P-Trap (not provided) to the waste line stub — out and the basin drainpipe. Cut the basin drainpipe as needed. Connect the supplied copper water supply tube to the shut-off valve location.
Turn on the water supply and fill the tank by activating the dispense button on the unit, and allow water to flow to the bubbler until you get an uninterrupted stream. Check for any leaks in the water lines and drains. At this stage, you can also add one of our bottle filler conversion kits to give users an easy way to fill reusable bottles without touching the faucet.
Once the fountain delivers a consistent flow, inspect the drain trap for proper pitch and confirm there’s no standing water in the bowl. You’ve completed the most technical step of the installation and turned a blank wall into a reliable hydration point.
Troubleshooting Tips
Our fountains are engineered for long-term reliability, but even the best equipment can hit a snag after years of high-traffic use. Keep this shortlist of quick fixes handy so you can resolve most issues without calling for outside service:
Restarting Units
If a model has sat idle for a while, it may be time to restart your unit. A controlled restart clears air pockets, purges stale water and reestablishes steady cooling performance.
Winterizing Outdoor Units
Freezing conditions can wreak havoc on any pipe. If your fountain lives in an outdoor space or an unheated corridor, schedule seasonal maintenance. Draining the supply, insulating exposed tubing and disabling the cooler’s refrigeration circuit prevent costly freeze damage.
Managing High-Impact Environments
In schools, parks and transit hubs, long maintenance tasks hold up hydration for everyone involved. That’s why our Tilt ‘N Tether system ensures you can swap out filters in under a minute simply by removing two screws and tilting the front of the machine forward. No complex tools and no crawling on the floor.
Set Up in a Breeze
Installing an OASIS drinking fountain doesn’t have to feel like a monumental project. When you begin with the right tools, follow each step and complete the simple maintenance checks we’ve outlined, the entire process often wraps up in a single afternoon.
Still weighing which drinking fountain model best meets your facility’s water flow needs, or facing a unique plumbing constraint with the existing pipe and drain? Reach out to our team for fast, personalized support that keeps your installation and your users running smoothly.
About the Author
Explore more articles
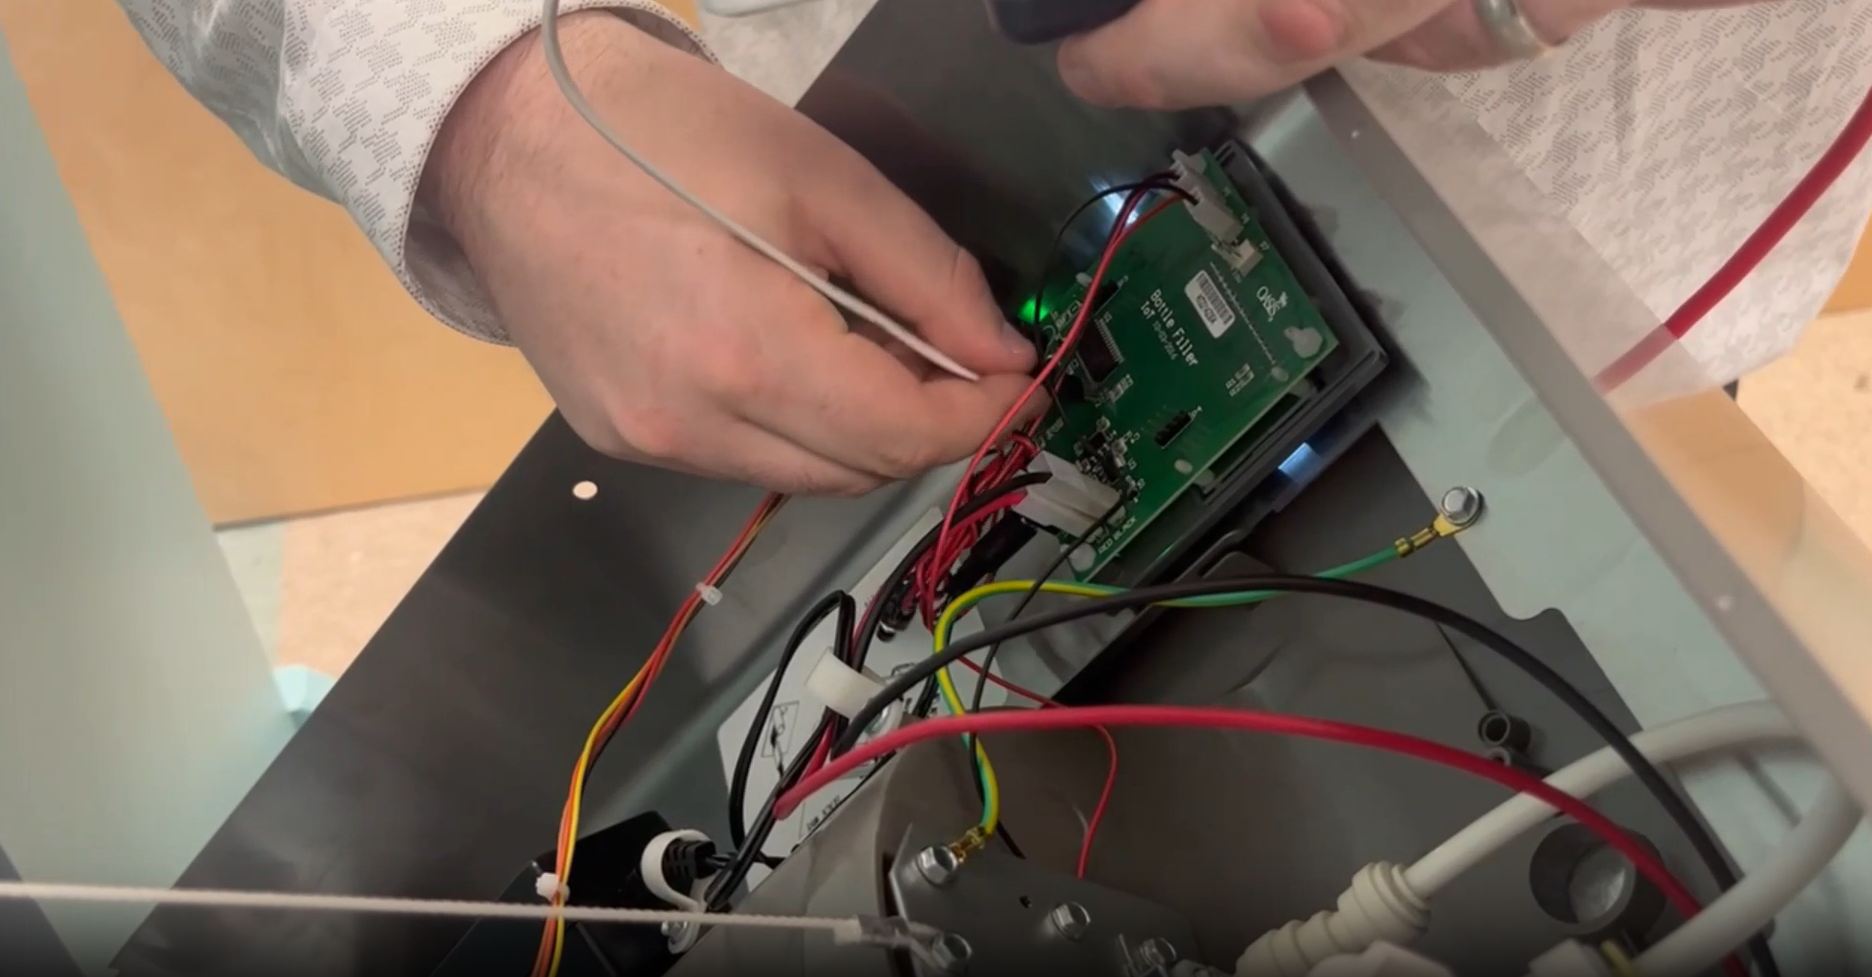
Electronic Bottle Filler Programming

Winterizing Instructions for Outdoor Rated Water Cooler

How To: Pressurize an OASIS PG8AC Cold Tank

How To: Install VersaCooler II Contactless Nose Kit
