

Winterizing Instructions for Outdoor Rated Water Cooler
 OASIS Tech Services
November 7, 2024
OASIS Tech Services
November 7, 2024

How to Guide:
Winterizing Instructions for Outdoor-Rated Water Coolers & Bottle Fillers.
As temperatures drop, it's crucial to prepare your outdoor-rated water coolers for winter to prevent damage from freezing conditions. Proper winterization ensures the longevity and optimal performance of your hydration equipment.
Our step-by-step guide will walk you through the process of safely draining and preparing your outdoor water coolers for the cold season. If you have any questions or need direct help, our Technical Services team is here to assist you.
Step 1:
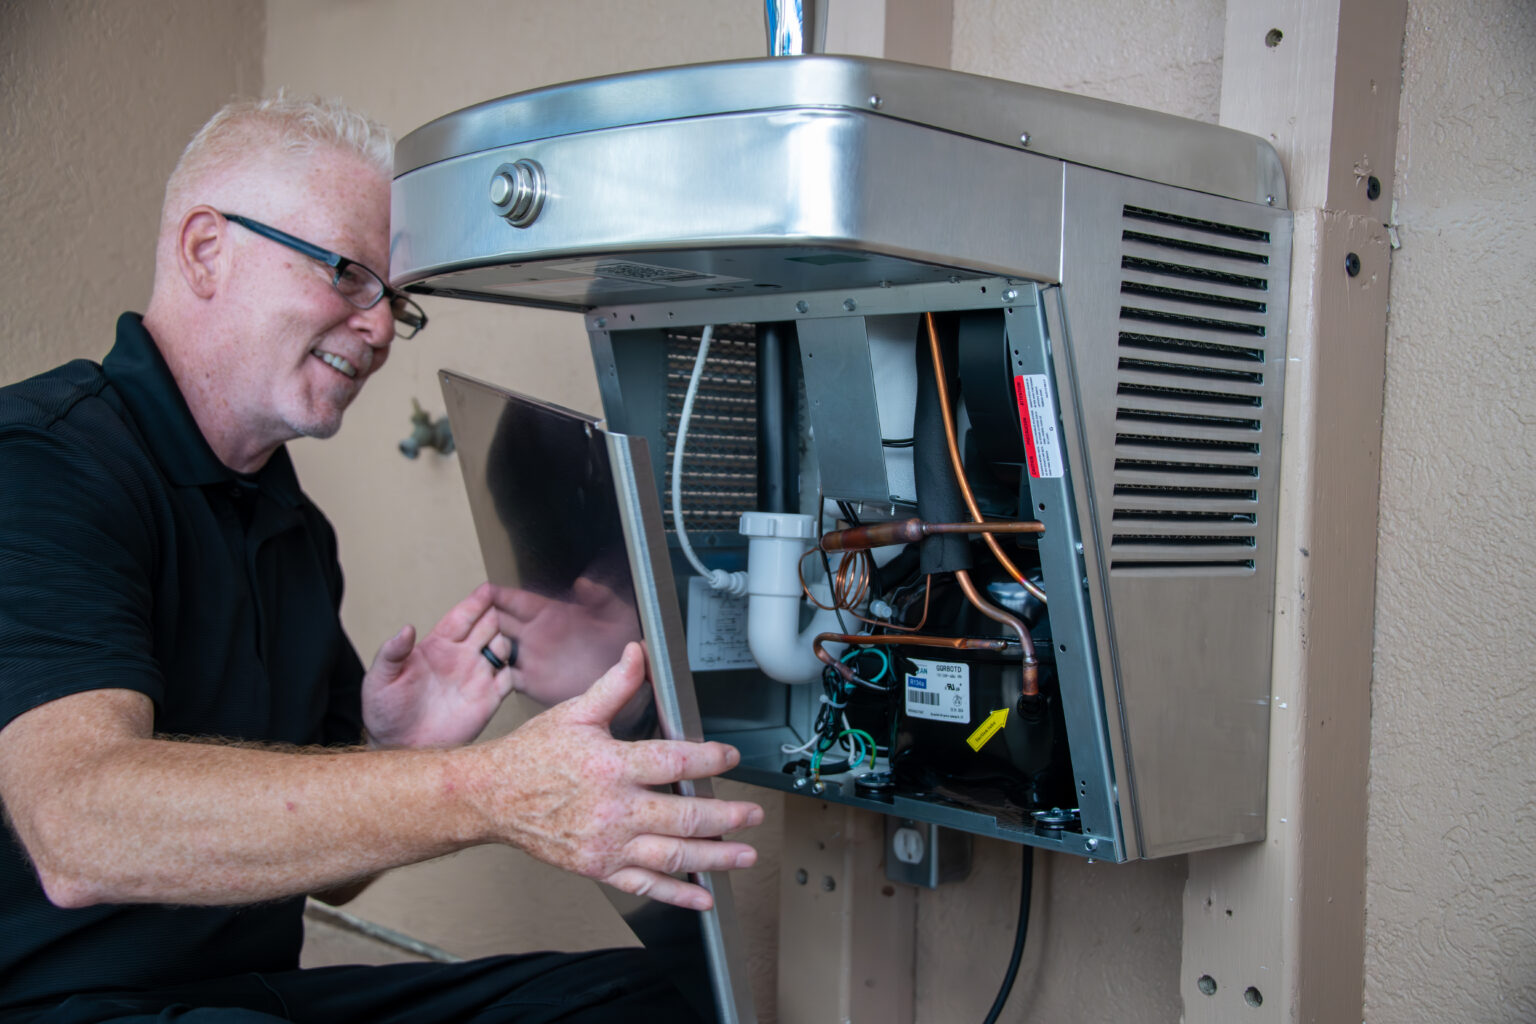
Remove front panel of water cooler.
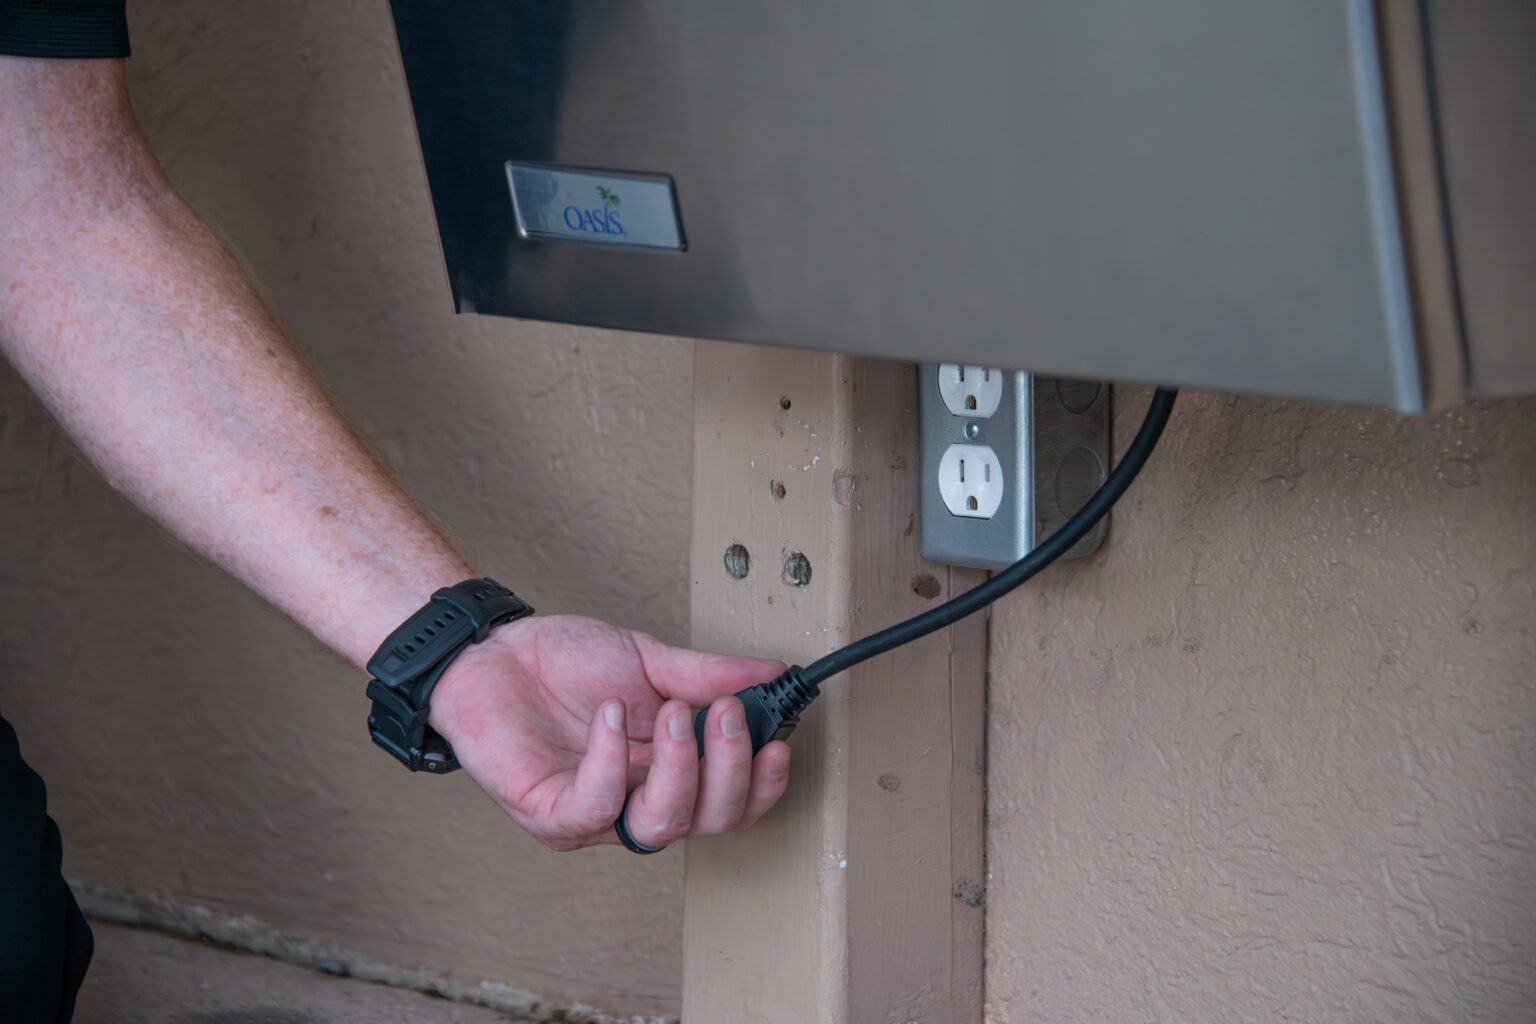
Disconnect cooler from power supply.
If bottle filler has an electronic solenoid valve, leave power on until flushing/draining is complete. Shut off water at water supply valve.
Step 2:
|
|
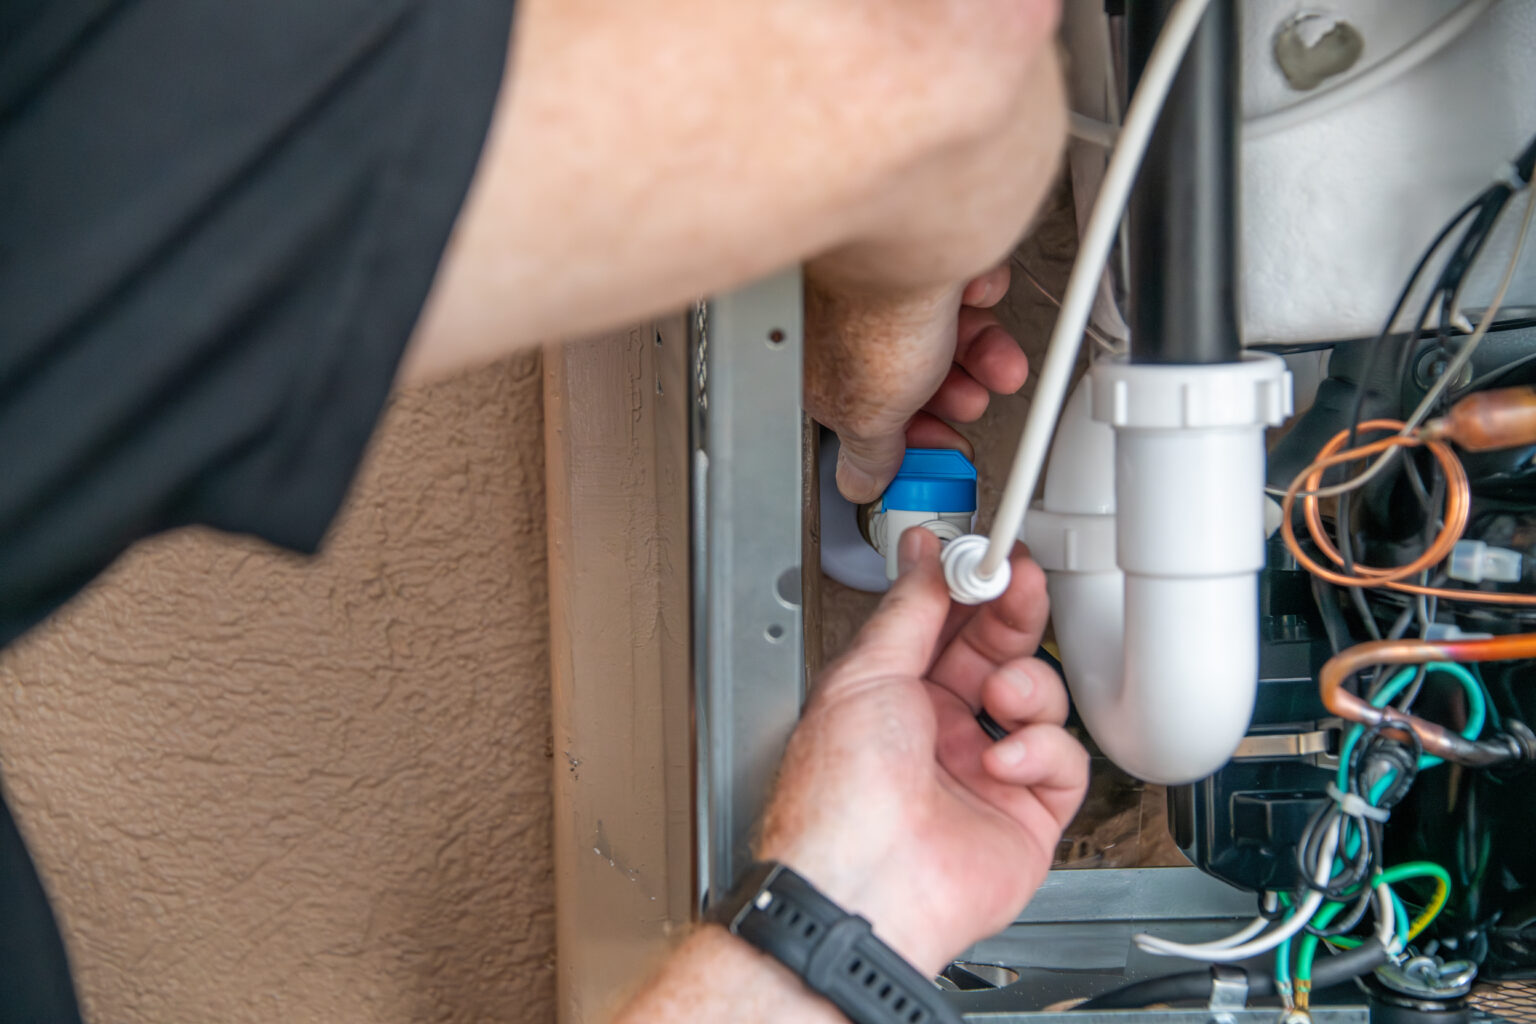
Step 3:
- Disconnect the 3/8″ OD water inlet copper line from the water shutoff valve.
- Remove in-line strainer from the copper tubing if applicable.
- Note that in-line strainer may be located in ¼” OD plastic tubing at cartridge inlet or cooling tank water inlet.
Step 4:

Using clean compressed air, blow air into the 3/8” OD copper line. At the same time activate the water cooler push button, and continue to blow air until water no longer comes out of the bubbler.
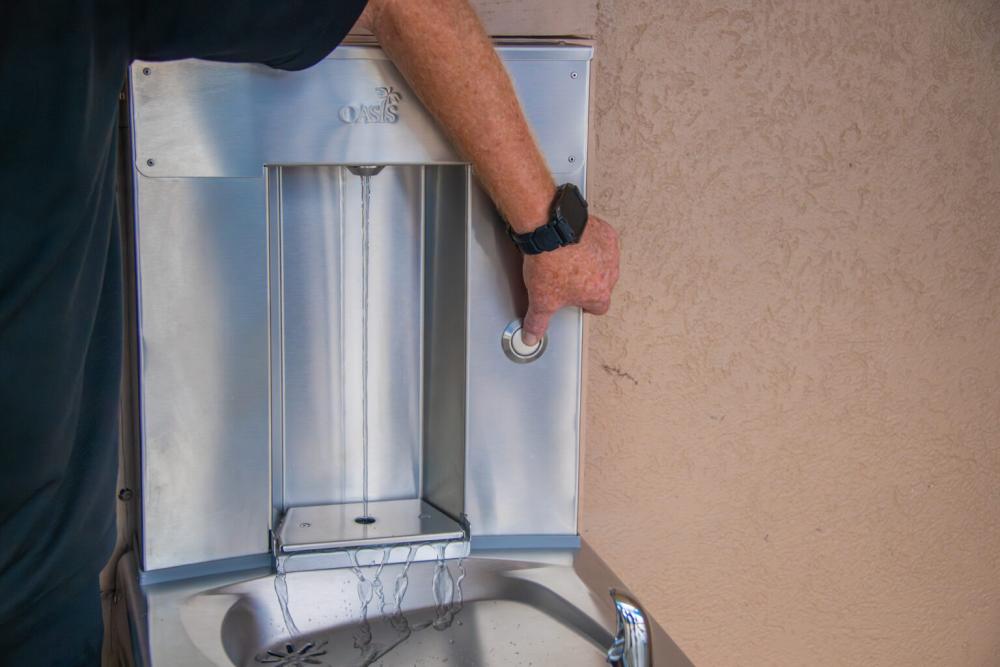
Next activate the bottle filler push button while blowing air until water no longer comes out of the bottle filler outlet.
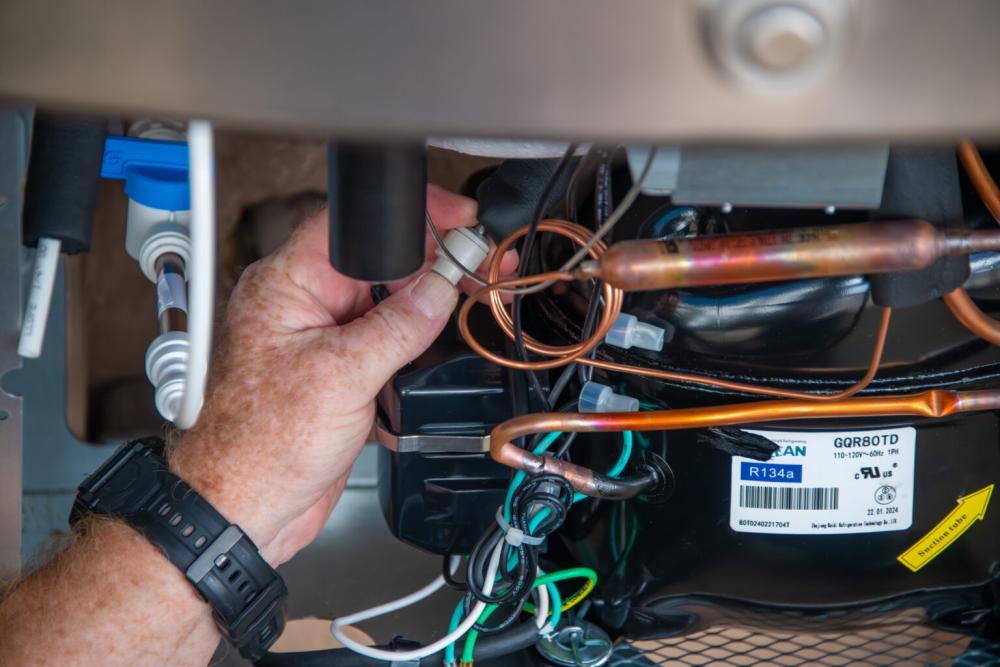
Step 5:
|
|

Step 6:
- Disconnect the Ptrap from the drain line, and empty it of any remaining water.
- Reconnect once this step is complete.
Support is available for direct assistance from our experts. Contact us at tech@oasiscoolers.com or call 800.646.2747.
Need Assistance? Our Tech Dept can help!

About the Author
Explore more articles

How To: Pressurize an OASIS PG8AC Cold Tank

How To: Install VersaCooler II Contactless Nose Kit

How To: Change Filter in Bottle Fillers with Tilt N Tether

How To: Install Outdoor VR Bottle Filling Station, PWMVDBF
